Opus 3, Calista
(means 'Most Beautiful')
Started 7/04, launched 10/24/04
Total cost ~$70
This is a sea kayak, based on this
free design. I did not want to make a 17' foot piece for the frames, so I
cheated a bit. I converted all the dimensions into metric and then scaled them
by 0.934. The MS Excel files for the panels are
here, and the
forms are here.
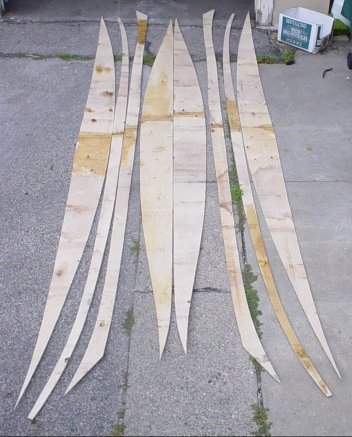
This made the longest piece 16' long so I could make it from 2 sheets of 4x8
plywood. With that dimension change, I managed to cut all of the pieces using
only 2.5 pieces of 4'x8' plywood.
This kayak will be done on the cheap. The
plywood cost me only $15 since it was scrap 'cover wood' I got from a local
flooring company. When pallets of wood come in, a thinner (but high quality)
piece of plywood is put on top to protect it in transport. Sometimes you get
lucky and that cover sheet (5-ply 1/4", high grade) makes the trip with little
damage. My pieces fit this bill.
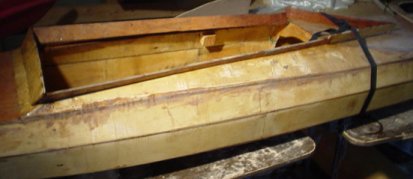
The panels were cut in my basement, even though
they are really long. I wanted to do part of the construction in my basement.
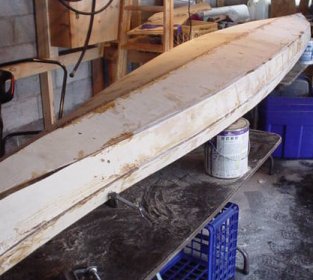
Glass over the hull, ready for epoxy:

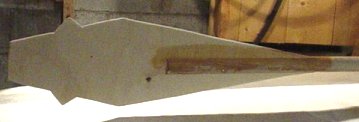
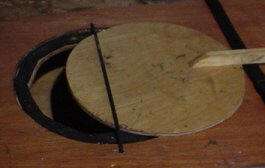
Another weird paddle design:
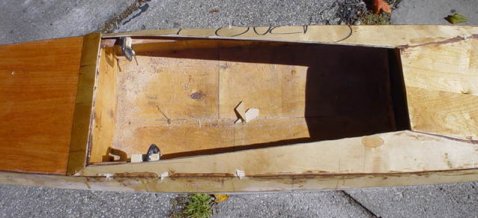
A close-up of the cockpit:
 |
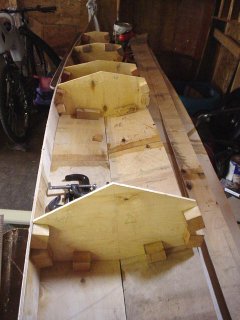
Decks Installed:
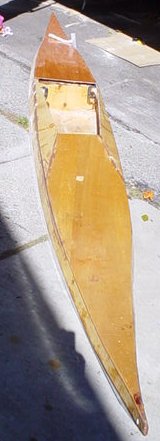 |
| As you can see, there was a small change to the
design. I decided to make the top decks flat instead of peaked. I sort of
took the idea from a different boat, the
qivitoq. |
|
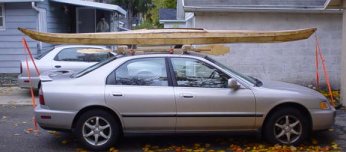
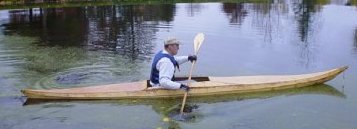
LAUNCH DAY Oct 23. 2004
There was finally a nice day to put the newest craft in the water. About 55
degrees and a light wind. The boat handled famously, with little tracking
problems (like the dug) and no water entering the cockpit even with very
vigorous paddling. I only wish the season was a bit longer. I will not put her
in storage until I absolutely have to! |
 |
Proud Owner:
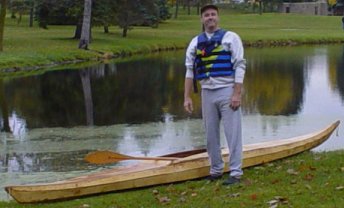 |
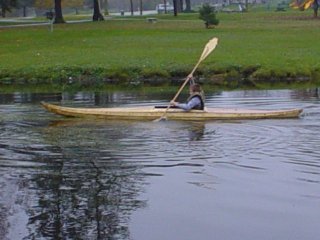
She floats low and a little to the rear:
 |
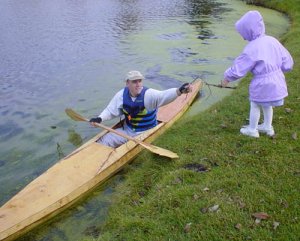
Salacia just wanted to give me a stick to throw in the
water:
 |
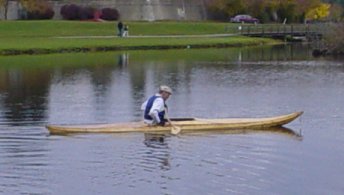
She flies pretty fast, but not as fast as
Swijin
 |
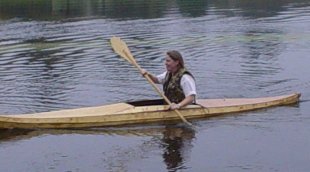
On Halloween weekend, my sister and her family came to visit and
they wanted to try out the kayak. All enjoyed!
 |
 |
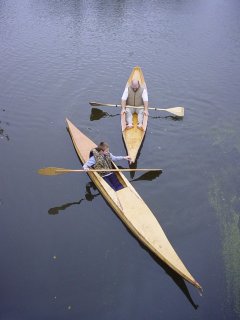
An aerial photo of my Guillemot and my Dug:
 |
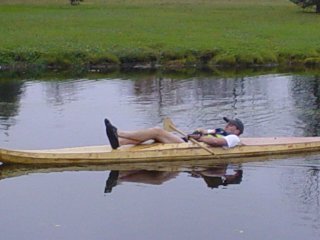
It might not look it, but you can get pretty comfy in this
kayak. I almost fell asleep once on a lake in this position.
 |
Commentary on a trip 7Nov04: I took her for a trip down a
long stretch (~5 miles?) of the Grand River. It was nice, but a few snags came
up. I spilled her once, which was awful considering how cold it was (November in
MI) . But in that regard we learned lesson #1: Put everything you want dry in
a bag, which is like EVERYTHING. Later that same trip I spend 45
minutes (no joke) finding my paddle. It got caught in two separate under-towed
log-jams on the river. Lesson #2: Get a darn leash for your kayak paddle
and/or get a spare paddle for long trips. duh...
Retrofitted rear hatch:
 |
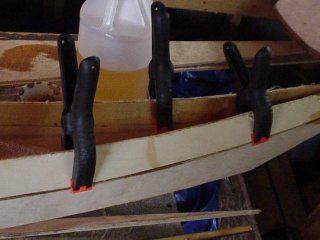
Retrofitted coaming:
 |
Updated
23 Apr 2005 17:19
Back to Doc Ott's Boatyard